
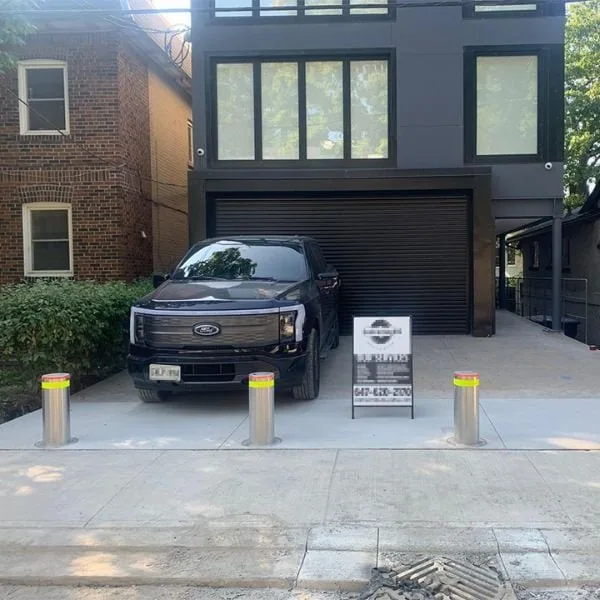
Automatic bollards are not only suitable for large-scale public projects but can also be installed in residential driveways. Below are some precautions regarding the installation and use of automatic bollards.
Installation of Automatic Bollards
Pre-Construction Preparations
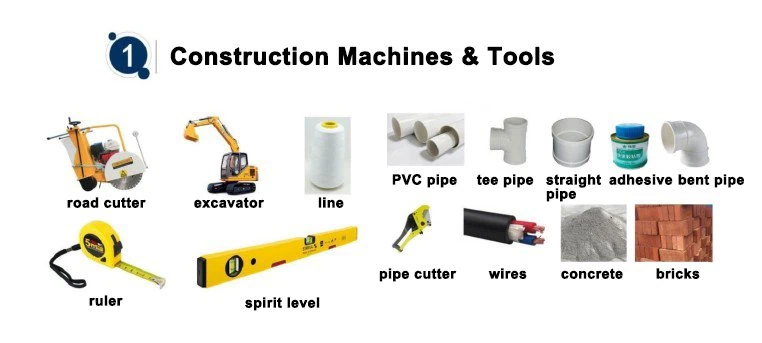
Tools required: road cutter, cement, electrical wiring, drainage pipes, tape measure, level, string, etc.
1. Before excavating the pit, survey the site to confirm whether there are any municipal utilities or underground pipes.
2. Only proceed with road excavation after confirming that the installation location is unobstructed.
3. Determine the composition of the subsoil at the installation site.
4. Remove any obstacles from the surrounding area.
5. Cordon off the construction site with caution tape or barriers.
Construction Steps
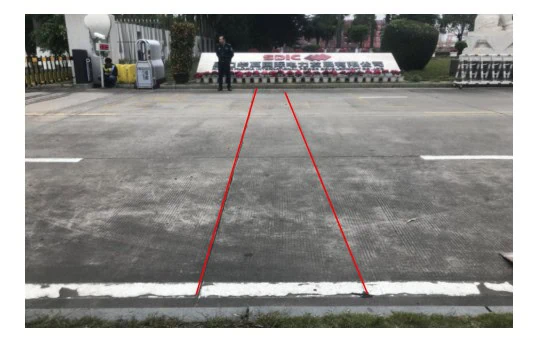
1. Dig the Foundation Pit
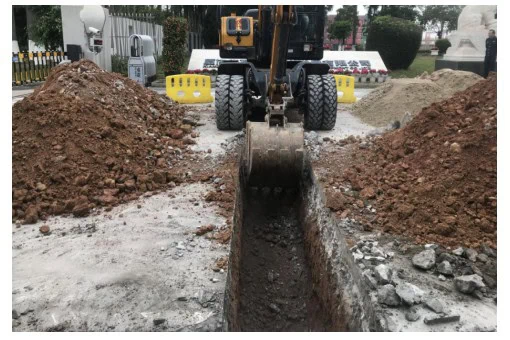
Dig to the specified dimensions based on on-site road conditions.
Recommended width: 600–800 mm.
Recommended depth: 1,400 mm (including a 300 mm drainage layer).
2. Constructing the Permeable Layer
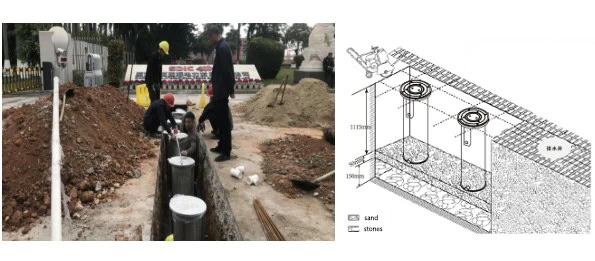
Mix sand and crushed stone, then build a 300 mm permeable layer from the bottom of the foundation pit upward. Level and compact the permeable layer to prevent the equipment from sinking. (If conditions permit, crushed stone smaller than 10 mm may be used without sand.) Depending on local conditions, determine whether to install drainage.
3. Remove the outer cylinder and level it
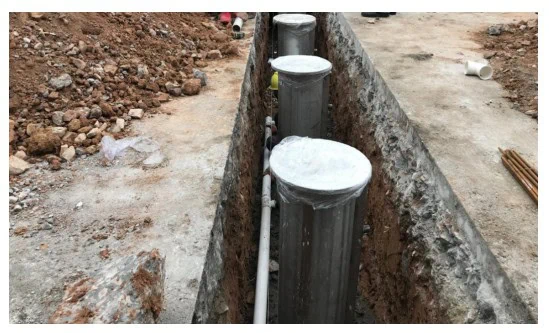
Remove the product’s outer cylinder and place it on the drainage layer. Adjust the outer cylinder to ensure it is level, with its upper surface slightly higher than ground level by 3–5 mm. Reinforce the perimeter of the outer cylinder with welded rebar to prevent tilting.
4. Embed Cable Conduits
Embed cable conduits according to the positions of the cable exit holes reserved on the outer cylinder’s surface. The diameter of the conduits is determined by the number of rising bollards. Generally, each rising bollard requires one power cable and one control cable for the pressure-relief solenoid valve; if LED strips are installed, an additional power cable is needed. Specific requirements should be determined prior to construction based on the customer’s needs and the power distribution configuration.
5. Commissioning
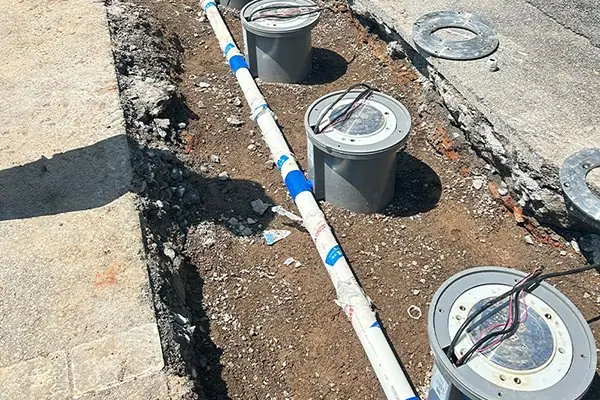
Connect the equipment to the power supply and perform raising and lowering operations. Observe the equipment’s movement during these operations, adjust the lifting height as needed, and check for any oil leaks.
6. Securing the Equipment and Pouring Concrete
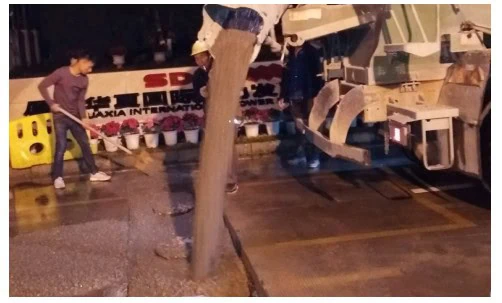
Place the equipment into the pit, backfill with an appropriate amount of sand and gravel to secure it in place, and then slowly and evenly pour concrete until it is level with the top surface of the equipment.
Precautions for Using Hydraulic Rising Bollards
(1) Avoid frequent raising and lowering within a short period of time, as this may cause the motor to overheat and result in damage.
(2) Be mindful of pedestrians during the raising process to prevent injury.
(3) If the bollard is not operating normally, once it has fully raised or lowered, press the stop button once to prevent damage to electrical components that could prevent the bollard from stopping, which could burn out the motor.
(4) If, during use, you notice that a single bollard is significantly higher than the others, immediately press the stop button and check whether the motor is still running. Once you confirm that the motor has stopped, contact the manufacturer promptly.
(5) Do not fill the gaps around the bollard with mud, sand, or debris, as this may interfere with normal lifting and lowering operations.
(6) Do not scratch the surface of the bollard, as this may damage the fully automatic bollard.
(7) The remote control has three buttons: Up, Down, and Stop. Use the remote control to raise or lower the equipment; if the action is not yet complete, press the Stop button to halt the operation.
(8) If the rising bollard is in the raised position and a power outage occurs, a 12V lead-acid battery is provided inside the distribution box. To ensure normal vehicle traffic is not disrupted, press and hold the pressure-relief combination button—pressing the “Lower” and “Stop” buttons on the box simultaneously. If the bollard does not move or stops after lowering slightly, manually apply downward pressure until the bollard is lowered to ground level.
Contact Jietian to learn more about our automatic bollard.